a beginners sourdough recipe
I was going to write out this elaborate introduction on how I was introduced to sourdough & sort of my heart behind why I began — but I know you’re not here for all of that!
Also, i will link all the things i use at the very bottom!
firstly though, i would like to highlight a couple people that taught me so much when it came to sourdough as a whole!! i took little things from each of them and made it work for me, and in my own environment; which is actually a big factor - one that i actually had a lot of hardships with at the beginning.
Tess Weaver — she sells her own sourdough V I D E O course and it’s so good and detailed!
Taylor Ann — what a sweet soul, who took a lot of time to compile a highlight to explain how to go from starter to levain, to loaf. i watched her do this in real time & it finally clicked!
I will go into what piqued my interest for a moment because I believe this is a core value we should all strive to have in our lives.
It took me a while to figure out the whole “starter” situation, but once I knew I’d be making loaves more regularly I decided that I will always make 2, and I will always give one away. I don’t always have someone in mind when I begin, but someone is always laid on my heart by the time I put the loaves in the oven. Once I know who I’ll be making it for, I pray over their lives as I’m making the loaf & it’s honestly such a special time with the Lord for me. It’s super simple and cheap, and to some, it may not be the bread that sparks joy but the act itself - to be thought of at random, and blessed with something that takes over a day to make is so special and my hope is that when I pass one along that the loaf tastes good(of course ;) but more-so I hope they feel and see my heart behind it.
anyway, i say all of that just to promote the idea of giving without any other reason than to make someone smile. feel seen. know they’re loved. if we all prioritized what we could do for someone else rather than wishing things be done for you, imagine THAT ripple effect!
I’m not going to write about the starter much in this blog, but if you’d like a “how to create an active sourdough starter” blog - I can do that!
If you didn’t know, sourdough is really good for your gut, really low in gluten & really good for your blood sugar overall(and so many other things). it’s just a mixture of flour and water that ferments over time. the fermented water and flour mixture actually creates this natural bacteria that is sooo so good for you, and they form a natural yeast in the process. That is actually where your yeast will come from.
STEP 1
feed your starter.
I use a ratio of...
50g all-purpose flour (unbleached)
50g wheat flour
100g 80-90 degree water
the rising process is different in every environment, but I’ve found that turning the oven light on and setting it in the oven for 5-6 hours that it does so well! but it could take anywhere from 4-16 hours. I usually take my starter out of the fridge in the morning, and feed it around 1 or 2 in the afternoon. it’s usually doubled in size by 7 or 8 and that’s when i begin step 2. my advice is when you feed your starter to set it somewhere it’ll stay warm as you wait for it to rise. starter loooooves the warmth, which is why I put it in an oven with the light on. it creates just enough of that warmth to culture and grow so stinking fast. my house is pretty drafty in our main living space, so the oven is my best option. If your home stays neutral to warm, you’d be fine to set it on top of your fridge, a shelf or even next to your oven while you cook!
the image above shows you what you’re looking for to begin your levain process. They call it “peaked doubledness” which is when you want to use it because that’s when it’s at its most healthy and happy state. If you wait longer it’ll begin to decrease in size and lose its rise, which will essentially make your dough a lot less airy - which is what you want in a good old homemade loaf of bread.
STEP 2
start your levain
“levain” is essentially the yeast packet you would use to make any loaf of bread.
so what you’re going to do is get a stainless steel or glass bowl(idk the science behind it fully, but i know that you want to stay away from plastic as much as possible because it reacts poorly with your bread) that can hold the loaf of bread you’re making. i use anywhere between a 50-75oz bowl because i’m always doubling or tripling the batch, so just use your judgment on that. then you’re ready to make your levain.
i always start this around 7-8pm because that’s what works for me in my schedule - but you have to allow it to sit uninterrupted for 12-16 hours before you begin making your bread with it, so i just plan accordingly.
I use a ratio of...
25g starter
25g all-purpose flour(unbleached) — i use “Bobs red mill organic, unbleached” flour
25g whole wheat flour — i use “Bobs red mill whole wheat” flour
50g 80-90 degree water
i’m also going to say this… you do not need to mix flours like i do. You can stick to one flour if you like. just know that wheat flour is heavier than all-purpose, so it might be a different ratio than what i use if you go that route. i love this recipe, so this is the one i’m writing out.
1- add the starter to a bowl
2- add your water and mix with your finger-tips until it’s all incorporated and bubbly.
3- add all of your flour to the bowl and mix until it’s all incorporated and theres no clumps or flour stuck to the sides of the bowl. you want to utilize everything in the bowl.
once it’s all mixed together, you’re going to cover your bowl — I use THESE bowls off of amazon a lot, so what i do is use the largest bowl and the second largest lid and just lay that inside the bowl to create a seal that allows air to flow throughout, but doesnt dry it out. You can also use a towel, but it always ends up dry in the morning so i didn’t wanna deal with that anymore to be honest.
you’re going to put the bowl in the same area you put your starter to grow, because it needs that same warmth to double in size and bubble up in the next 12-16 hours. The oven with the light on is always my go-to if it’s overnight and you cant regulate the heat as much as you could during the day.
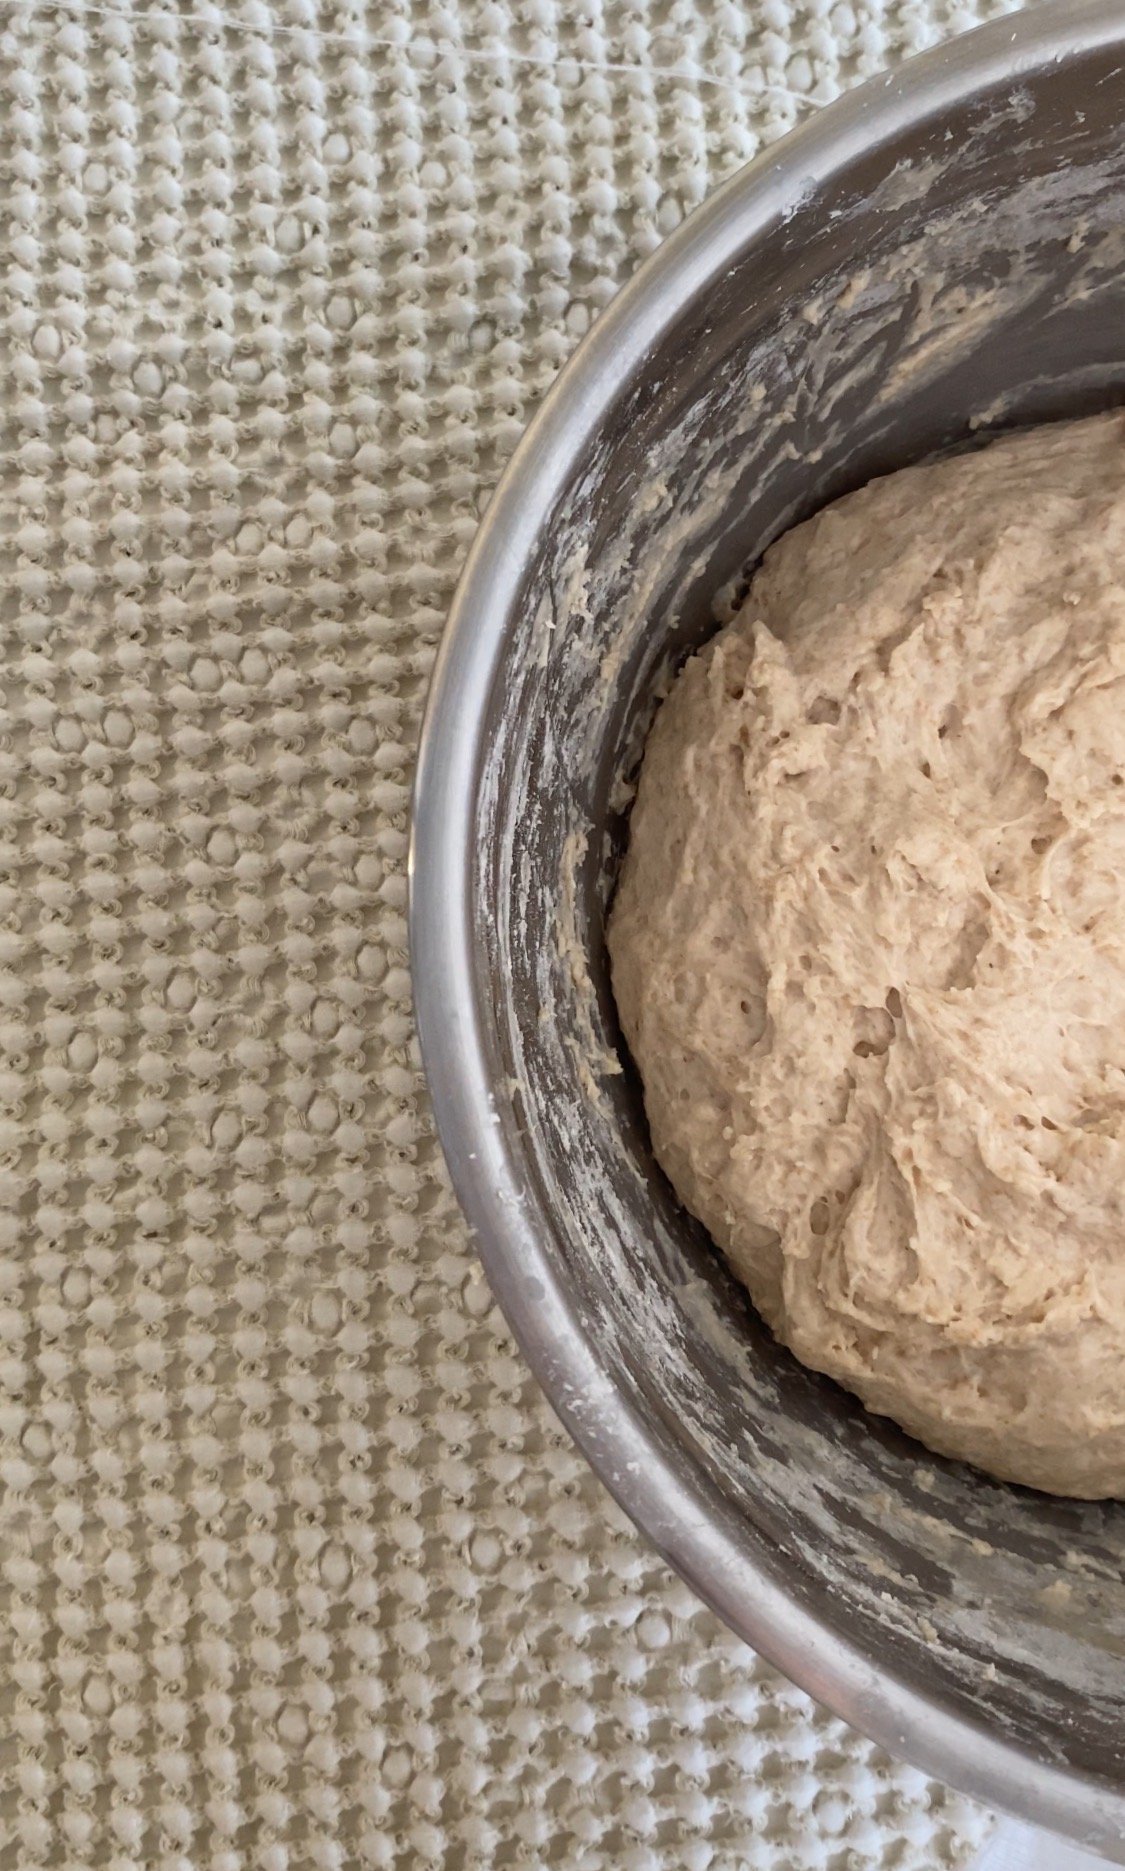
When your levain looks like this, you’ll begin the bread making process! yay!
sorry for the low quality photo… i’m terrible at photographing the process, but i’ve made a couple videos ( here & here ) of what it looks like in real time so screenshots will have to do for now & you can check those out if you are confused about techniques or steps! i learn better by sight, so it’s always helpful when there’s videos to go along with whats written.
STEP 3
lets make some bread!
for a single batch i use this ratio…
425g all-purpose flour(unbleached)
75g whole wheat flour
360g 80-90 degree water
10g salt
- firstly, you’ll add the water to the levain and incorporate the two together, like you did to make the levain previously. you don’t have to use your hands either, you can use a wooden or silicone spoon if you’d rather - i like to use my hands because it so therapeutic, and i also get a better idea of when it’s all incorporated by feeling the lumps.
-mix your two flours together in a separate bowl & combine them to your mixture with the salt added on top.
this is where it gets messy, but fun at the same time!
-mix it all together! turn on a song before, or say a prayer during.
you want everything mixed well, so it’ll take you a few minutes of mixing, scraping the sides to get all the flour in the center and pinching to form into a dough. So if you get bored easily i would prep before your hands get sticky and heavy! this part is the most fun for me. You watch as it all forms together, and the smell is soooo yummy. This is usually where i’ll start thinking of who i can bless with some bread(if i don’t already know), and say a prayer for them.
-you’ll know you’re good to stop when it softens and becomes super stretchy and more smooth.
-once mixed, scrape it all together into the center of the bowl and allow it to rest, covered with a towel for about 30 minutes on the counter.
-once that 30 minutes is up, set a timer for 5 hours, and begin your folding process.
for the first 3 hours you will be giving your dough a set of folds(i do the letter fold technique) out of my bowl, every 20 minutes. a total of 7 sets. It sounds super inconvenient to be getting up every 20 minutes for 3 hours to fold your dough, but if you plan out when you’re going to be making your bread it’s really not that bad. I typically do a task like dishes, play with my daughter, start on dinner, etc… the folds honestly only take a minute to do, so it’s sorta nice to break it all up that way.
-on the 7th fold it should be a lot tighter and smoother — That’s when you cover it up and for the remaining 2 hours and allow it to sit and rise.
-once the timer goes off you’re going to lightly dust the counter top and set your dough on top to do 2 more sets of letter folds, while pinching the dough together as you fold. the pinching just helps combine it all together, so that you get more of a ball structure at the end. this looks like folding one end to the center, pinching both ends together to “seal the envelope”. then you repeat on the other side.
after the second fold you’re going to turn your bowl upside-down over the dough and just let it sit for 30 more minutes.
-after it’s done resting, flip the dough over so that it’s a smoother top & begin to shape it. you don’t want a lot of flour on the countertop at this point because you want the tension from the countertop to work with you.
you can do this by cupping your hands underneath the dough and do sort of a twist motion from the bottom, spinning it counter-clockwise and allow the tension of the countertop to work it’s magic alongside your cupping and twisting. if you’re confused by what i mean or looks like, watch THIS video and you’ll see what i’m saying.
when you’re finished and it feels like a tight ball is formed, you’re going to lightly dust your proofing basket(or whatever basket you use)and set it inside upside-down. what sits on the bottom of your basket will be the top of your loaf. You’re going to let that sit for 1-2 hours, until you can poke the top and it leaves an indent. I like to poke around the entire loaf to make sure that the sides and middle are all good before it’s time to bake!
THE FINAL STEP
time to bake!
now, you have a couple options here — you can begin to bake your bread immediately after the dough is ready to go, or what i like to do is leave it in it’s proofing basket and lay a lid over it so it doesn’t dry out, and bake it the next morning! usually by this time it’s around 5 or so in the evening, so it’s perfect for dinner, but i looooove making a fresh loaf in the mornings, so that’s what i do!
when you want to begin to bake your bread…
-you’ll preheat the oven to 500 with your dutch oven inside and let that sit for about 45 minutes
-during this time is when you’ll lightly dust your countertop, gently dump over your bread to the counter so that the top is right-side-up, and you get to score your bread.
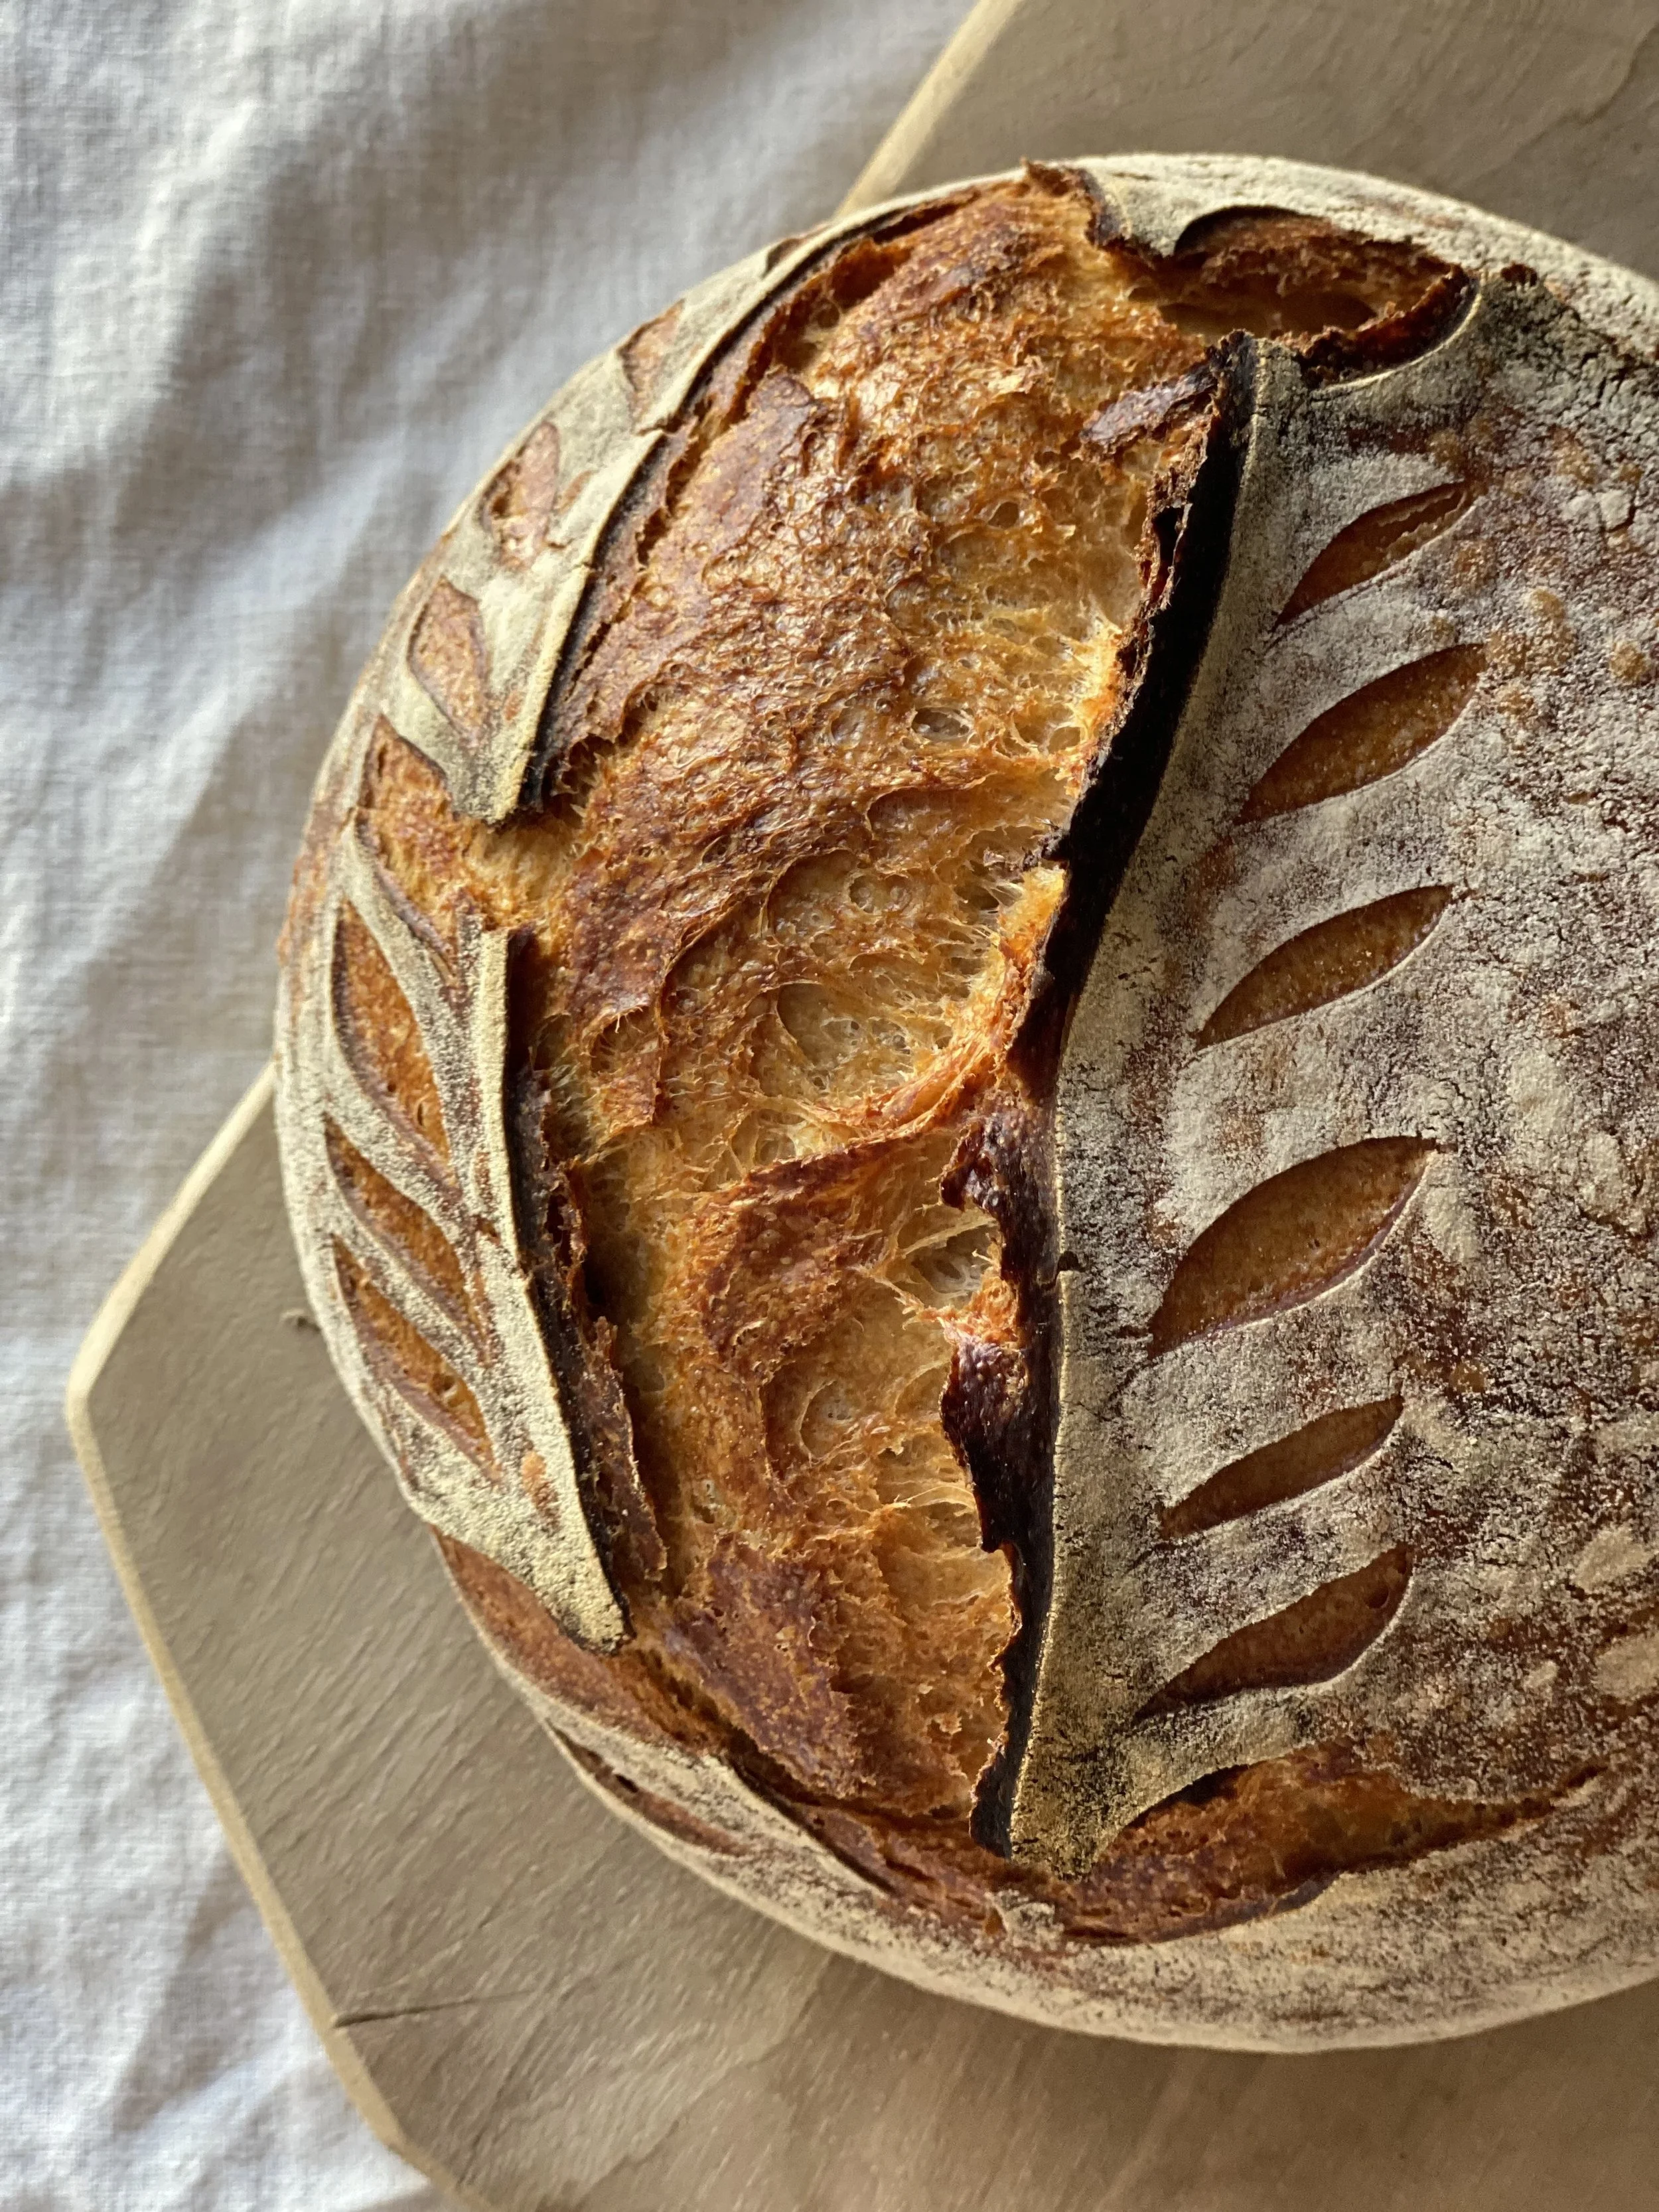
scoring is important because it allows the bread room to rise. otherwise if you left it as is, it would try to find openings and end up looking super wonky. the idea is to allow the dough a natural source to rise and find openings without pressure being an issue. you’ll usually see really pretty designs when scoring but honestly if that’s not for you, just make sure you do one or two deeper slits so the bread can rise. the small, decorative lines are simply that. decorative. it’s fun to do when you have time, but i know not everyone is about that! so 1 to 2 deeper cuts and you’re good to go.
-after the dutch oven has sat for about 45 minutes in your oven, turn the oven down to about 450, remove the dutch oven and insert your bread. be caaaaareful not to burn yourself in this process. it’s easy to do, and not fun to recover from lol
-bake for about 25 minutes to allow the middle a good chance to bake through, and then go in and crack the lid open for an additional 15-20 minutes to add that crispiness that we all love in a good loaf of bread.
you will know it’s completely cooked through if you turn your loaf upside-down, tap on the bottom and it sounds hollow.
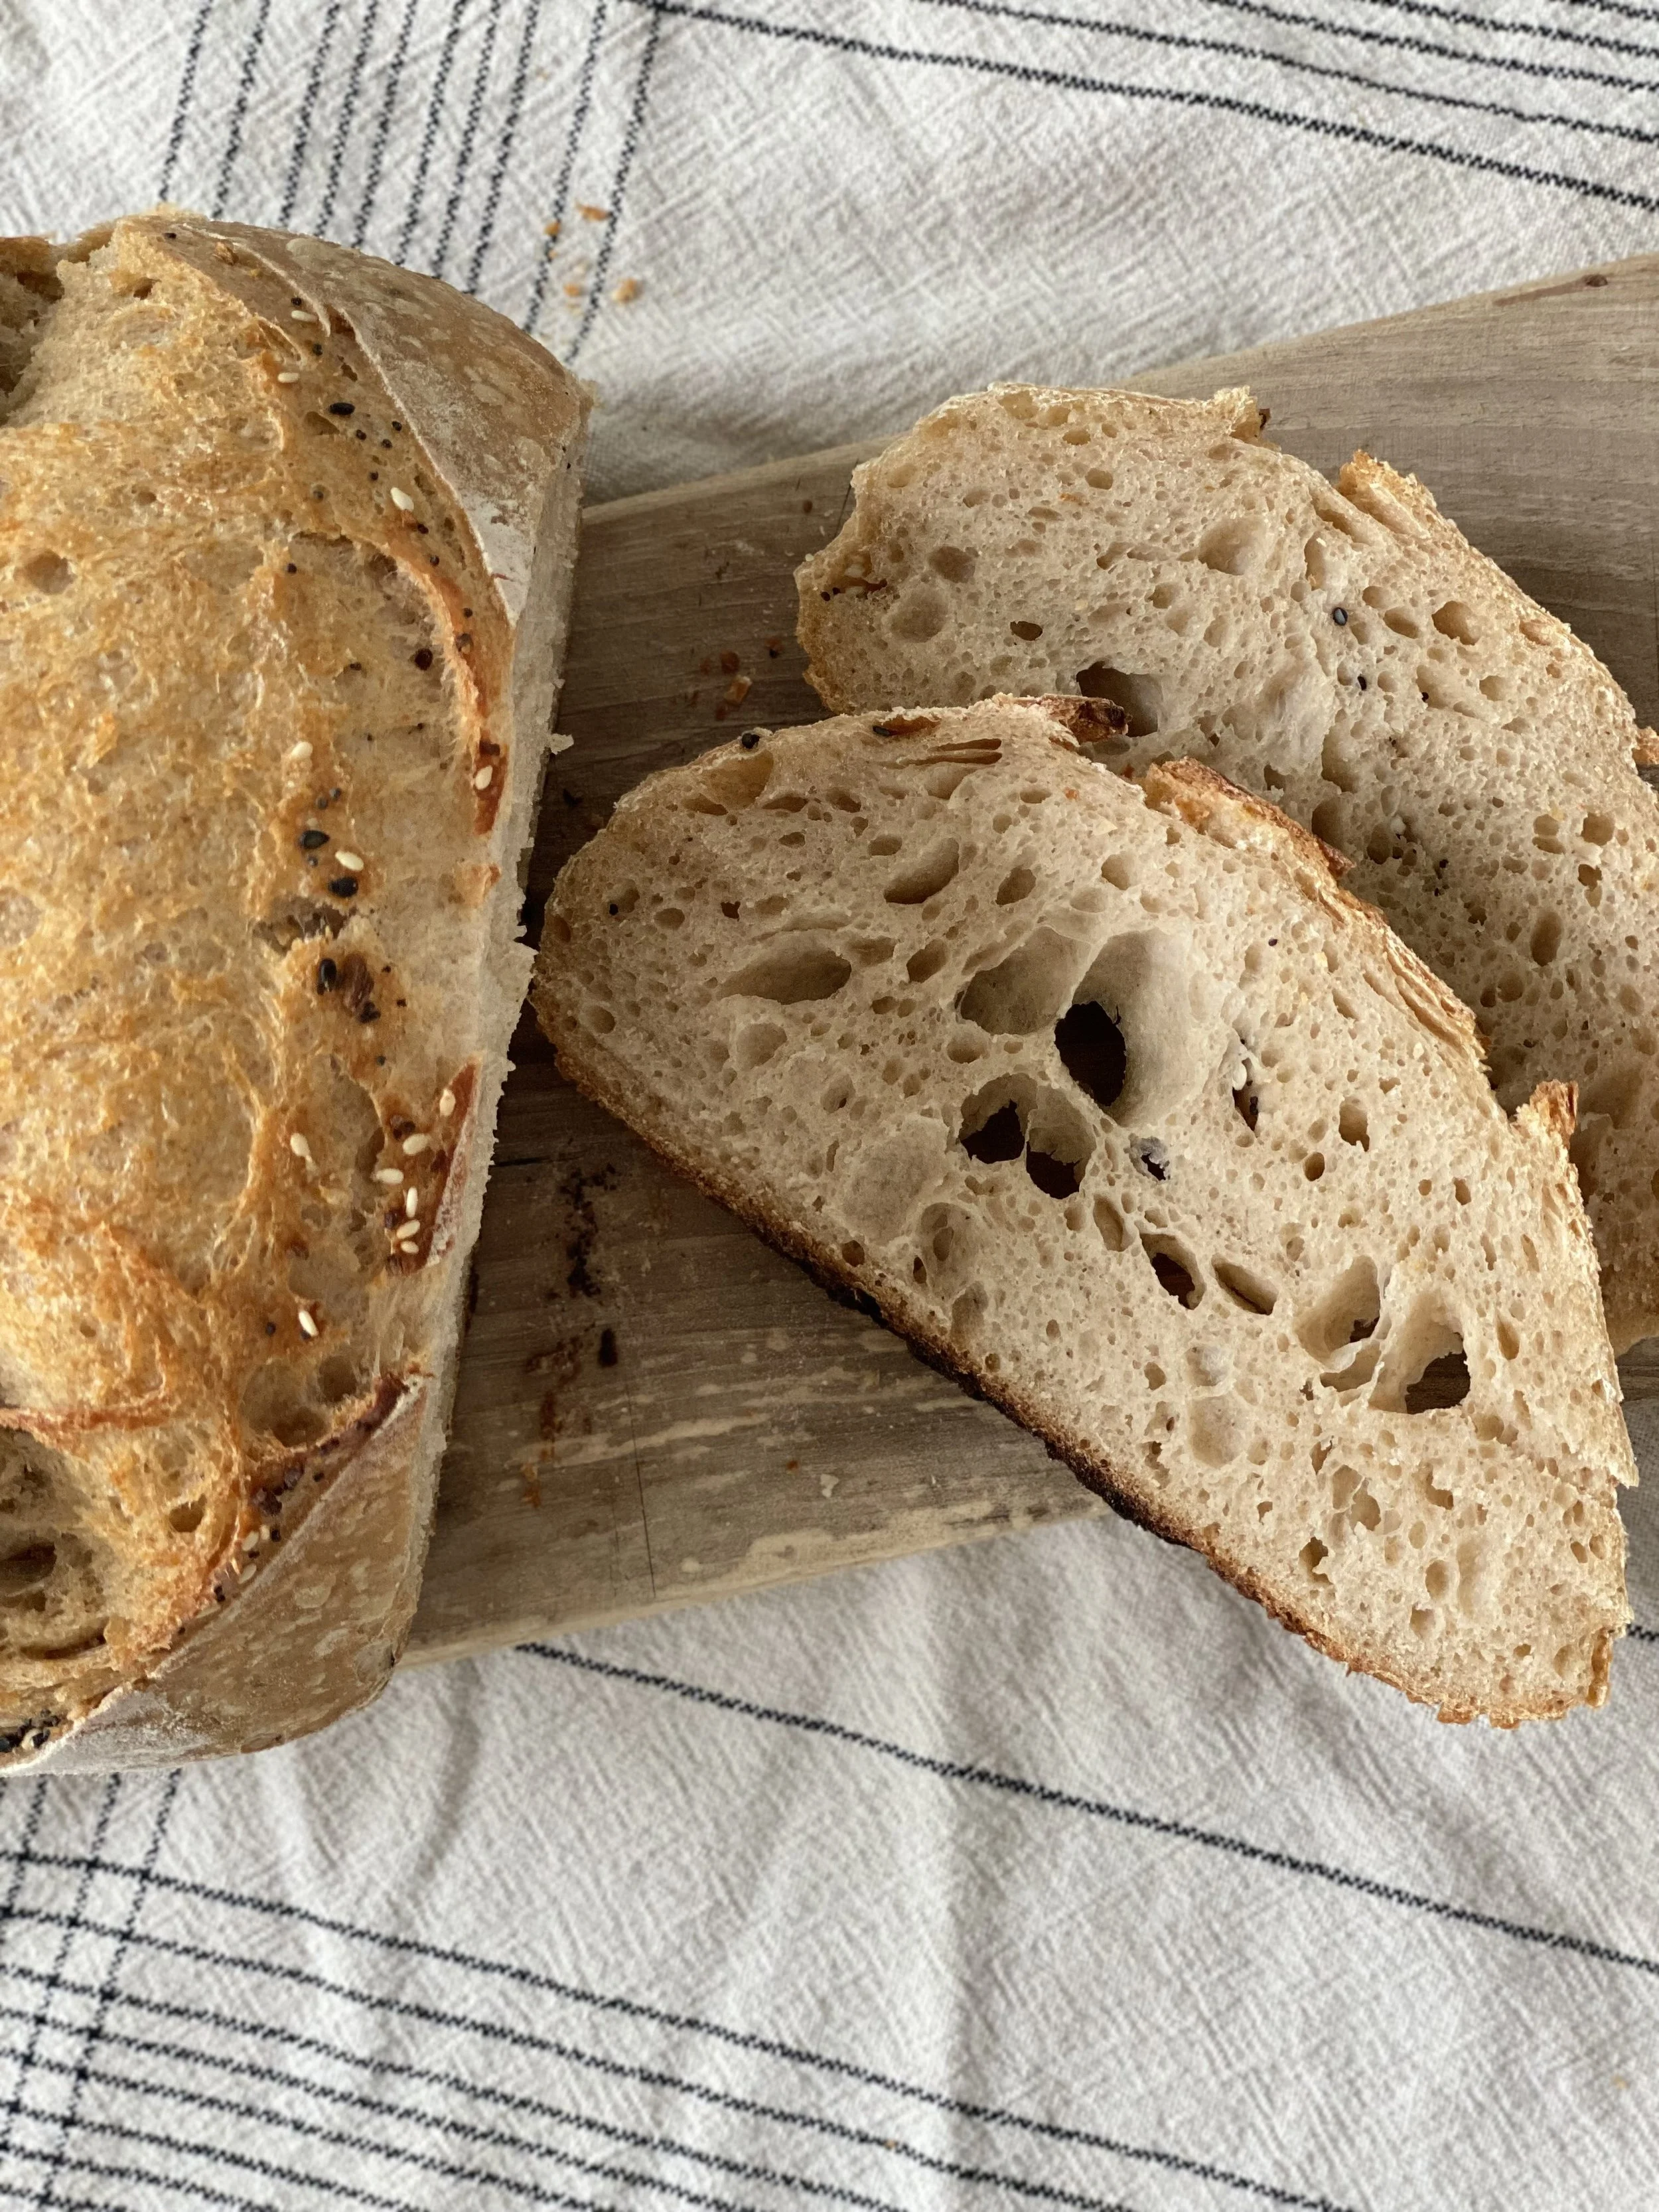
and there you have it! i like mine crispy and darker, but you’ll learn how you like it the most! one important thing to note, is that every loaf you make will become more sour and rich and all-around better because you’re feeding your starter at least once every 2 weeks, and allowing that starter to culture and ferment in your fridge. So if you make your first loaf and it doesnt taste the best, or it’s sorta dense… it’ll only get better & allow yourself room for improvement. the more you make it, the more you begin to understand the process and it’s honestly just so fun to learn about.
i hope this was helpful, and that you’re left feeling like you can start making your own loaves of sourdough. it’s such a daunting thing to begin, but once you make one the terms, and precision, and rhythm just flow through you naturally & it’s not so intimidating!
if you have any questions please ask! i loved making this for you and i hope to make more soon!
i can’t make you all a loaf of bread, but here’s a virtual alternative! i hope you’re able to bless others once you feel confident in making your own. i love the idea of things like this bringing people together & if that’s a loaf of homemade bread, than it’s a loaf of bread!
LINKS & THINGS
I wanted to preface before i start linking things, that you do NOT need to buy anything new to start making sourdough. these are things i’ve acquired since the 2020 sourdough craze began, and i managed just fine without any of them. These are simply here for those of you who are looking for tools that make it a little easier if you’re constantly making bread!
Just click the images below for linked item — I also have everything linked on my amazon storefront


